How to use ByteTrack with YOLO for object tracking in Python
Give YOLO a memory. This tutorial uses ByteTrack to assign persistent IDs to objects across video frames, with a runnable Ultralytics script and a bytetrack.yaml tuning guide.

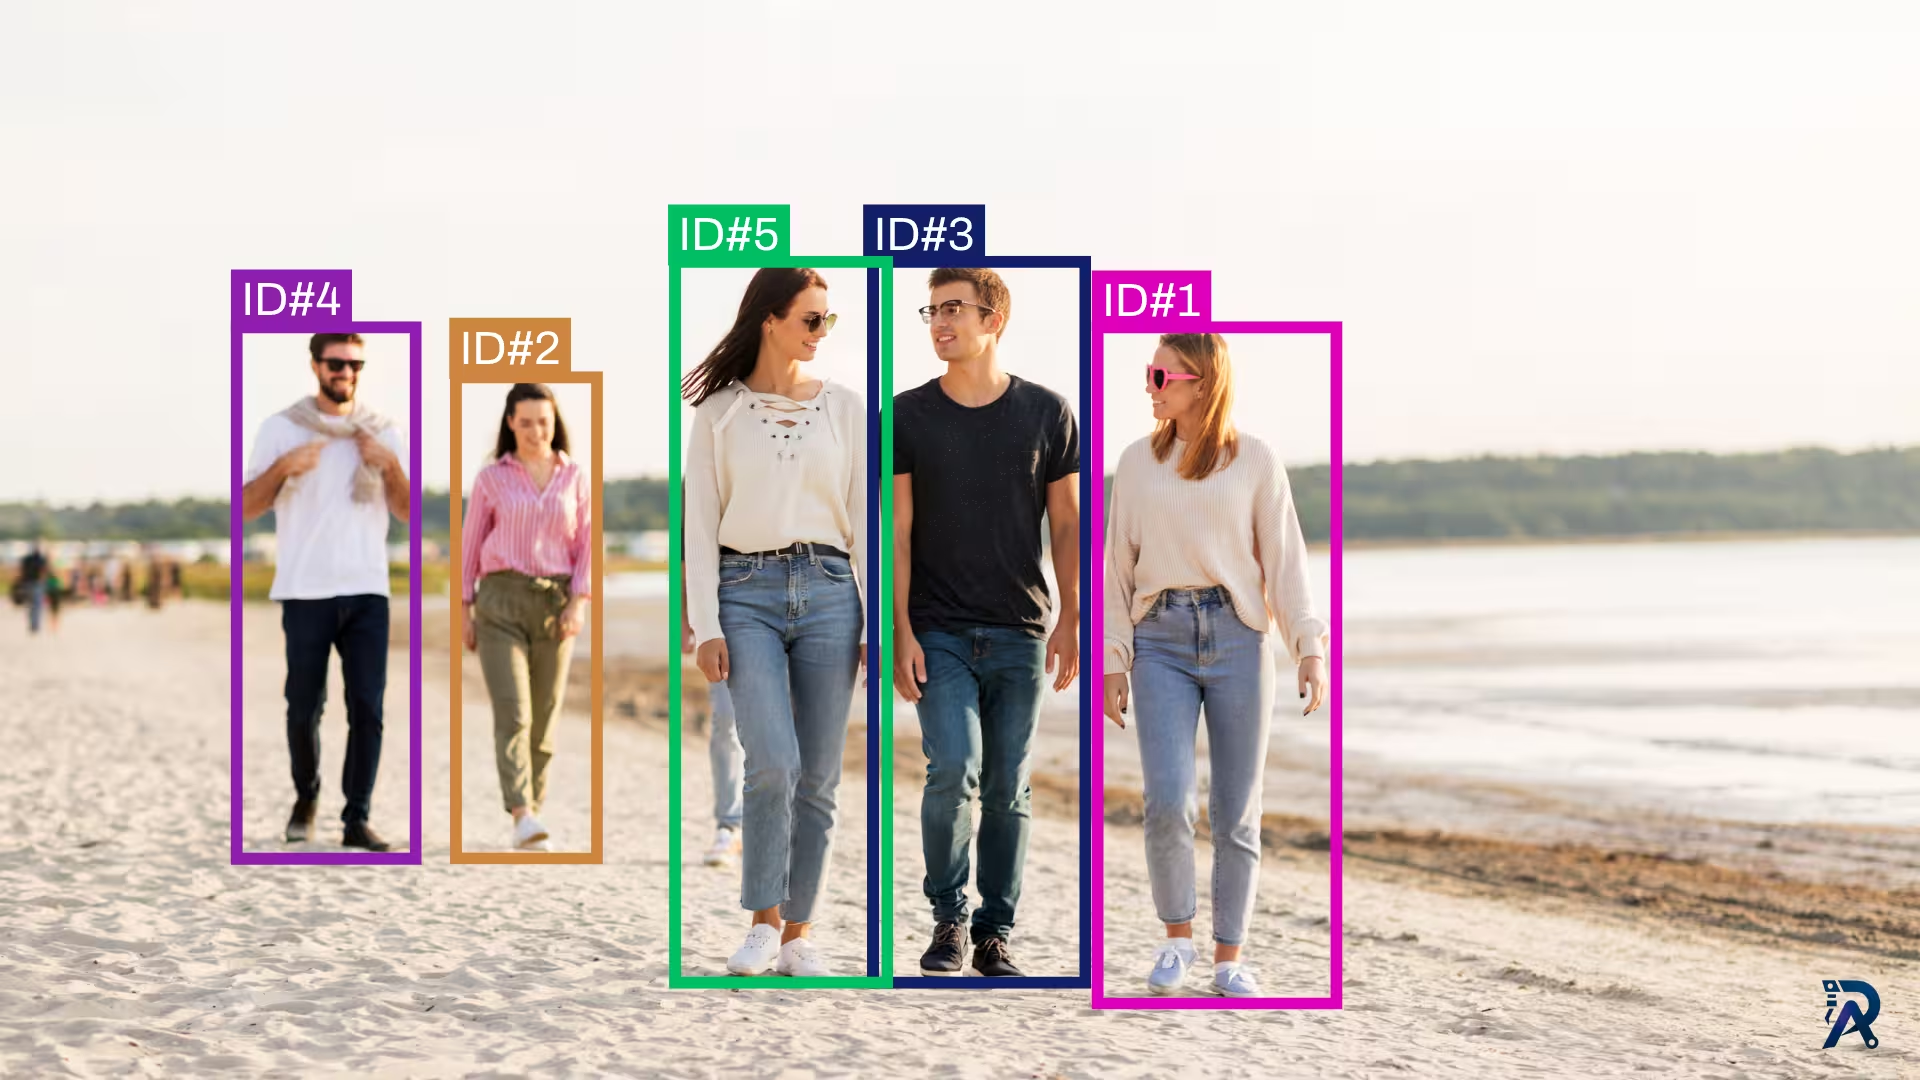
A detector tells you what is in a single frame. It draws a box around every person in this image, and a fresh box around every person in the next one, but it has no idea that the person on the left is the same person a second later. Object tracking adds that memory: it stitches detections across frames and gives each object a stable ID.
ByteTrack is one of the most popular ways to do this, and Ultralytics has it built in, so you can go from detection to full multi-object tracking by changing almost nothing. This tutorial shows the one-liner, the reusable script that saves an annotated video, and how to tune bytetrack.yaml when the defaults are not quite right.
What is ByteTrack
ByteTrack is a multi-object tracking algorithm, and its trick is almost embarrassingly simple. Most trackers only match high-confidence detections to existing tracks and throw the low-confidence ones away. But a low-confidence box is often a real object that is briefly occluded or blurred, not noise.
ByteTrack keeps them. It matches in two rounds:
- First round: associate the high-confidence detections with existing tracks (the usual step).
- Second round: take the leftover low-confidence detections and try to match them to the tracks that are still unmatched.
That second pass is what lets a track survive a person walking behind a pole or a car passing through shadow. It is motion-based, using a Kalman filter to predict where each track should be and IoU to match boxes, so it stays fast and does not need appearance features. That combination of accuracy and speed is why it became a default.
What you need
Everything is in the Ultralytics package. One install, no separate tracker repo:
pip install ultralytics
Grab a detector checkpoint too, or let Ultralytics fetch it on first use. A small model like YOLO11n is the right starting point for real-time tracking.
The quick start
If you just want to see it work, point model.track() at a video and tell it to use ByteTrack. Ultralytics handles the frame loop, the IDs, and the drawing:
from ultralytics import YOLO

model = YOLO("yolo11n.pt")

# tracker="bytetrack.yaml" selects ByteTrack; show=True opens a live window.
results = model.track(source="people.mp4", tracker="bytetrack.yaml", show=True)
Swap bytetrack.yaml for botsort.yaml and you are running BoT-SORT instead, with no other change. That is the whole switch between the two trackers.
The full script
For real work you usually want to process frames yourself so you can save the output, read the IDs, or run your own logic per frame. Here is a complete, reusable script that tracks a video and writes an annotated copy:
import cv2
from ultralytics import YOLO

model = YOLO("yolo11n.pt")
cap = cv2.VideoCapture("people.mp4")

fps    = cap.get(cv2.CAP_PROP_FPS) or 30
width  = int(cap.get(cv2.CAP_PROP_FRAME_WIDTH))
height = int(cap.get(cv2.CAP_PROP_FRAME_HEIGHT))
writer = cv2.VideoWriter(
    "tracked.mp4", cv2.VideoWriter_fourcc(*"mp4v"), fps, (width, height)
)

while True:
    ok, frame = cap.read()
    if not ok:
        break

    # persist=True: this frame continues the same video, so IDs carry over
    # instead of resetting on every call.
    results = model.track(frame, persist=True, tracker="bytetrack.yaml")

    # .plot() draws the boxes, class labels and track IDs for you.
    annotated = results[0].plot()

    writer.write(annotated)
    cv2.imshow("ByteTrack + YOLO", annotated)
    if cv2.waitKey(1) & 0xFF == ord("q"):
        break

writer.release()
cap.release()
cv2.destroyAllWindows()
Run it and you get tracked.mp4: every object boxed, labeled, and carrying a number that stays with it across the whole clip.
How the code works
Three details do all the work here.
persist=True is the important flag
When you feed frames one at a time, the tracker needs to know they belong to the same video. persist=True says exactly that, so track state (and therefore IDs) survives between calls. Forget it, and every frame starts fresh and the IDs reset constantly. If you instead hand the whole video path to model.track() in one go, Ultralytics manages this for you.
.plot() saves you the drawing code
results[0].plot() returns a NumPy image (BGR, ready for OpenCV) with boxes, class names, and track IDs already rendered. It is the fastest way to a good-looking output, and you can turn parts off with arguments like plot(labels=False) if you want a cleaner frame.
Reading the track IDs yourself
When you need the raw numbers, they live on results[0].boxes:
boxes = results[0].boxes
if boxes.id is not None:                    # None on frames with no tracks yet
    ids  = boxes.id.int().tolist()          # one track id per box
    xyxy = boxes.xyxy.cpu().numpy()         # box corners
    for track_id, box in zip(ids, xyxy):
        print(f"id={track_id}  box={box.astype(int)}")
Check boxes.id is not None first: on the very first frame, or a frame with nothing detected, there are no IDs yet. From here you can count objects, measure how long each ID stays on screen, or build a trajectory.
Tuning ByteTrack with bytetrack.yaml
The defaults are good, but a few settings matter when your video is crowded, low frame rate, or full of brief occlusions. Copy the config, edit it, and pass your own file:
tracker_type: bytetrack
track_high_thresh: 0.25   # first round: min score for a confident detection
track_low_thresh: 0.1     # second round: recover these low-score boxes
new_track_thresh: 0.25    # min score to start a brand-new track
track_buffer: 30          # frames to keep a lost track before deleting it
match_thresh: 0.8         # IoU threshold to match a detection to a track
fuse_score: true          # fold detection score into the match cost
# Save the edited file, then point the tracker at it.
results = model.track(frame, persist=True, tracker="my_bytetrack.yaml")
The two you will reach for most:
track_bufferis how many frames a track can go missing before ByteTrack forgets it. Raise it (say to 60 or 90) when objects are occluded for a while and you want the same ID to come back afterward. Lower it in fast scenes where reusing an old ID would be wrong.match_threshcontrols how strict IoU matching is. Loosen it slightly in low-frame-rate video, where objects jump further between frames and a strict overlap fails.
ByteTrack or BoT-SORT: which should you pick?
Both ship with Ultralytics and swap with a single argument, so the choice is about your footage:
- ByteTrack is motion-only and fast. It is the right default for real-time work and clean-to-moderate scenes.
- BoT-SORT adds camera-motion compensation and optional appearance (ReID) features, so it holds IDs better when the camera moves or objects cross paths, but it costs more compute.
I put the two (plus OC-SORT, DeepOCSORT, FastTrack and TrackTrack) head to head in this object-tracker comparison, and measured their real speed across GPUs on the YOLO tracker benchmarks page. If you are choosing a tracker for production, start there.
What you can build on top
A stable ID per object is the foundation for most video analytics:
- Counting: count unique objects instead of re-counting the same one each frame, like counting people entering zones.
- Trajectories and forecasting: connect an ID's positions over time into a path, and even predict where it is heading next.
- Dwell time and speed: measure how long each ID stays in a region, or how fast it moves through the frame.
- Re-identification logic: trigger an event the first time a new ID appears, not on every frame it is visible.
Wrapping up
Turning YOLO detection into tracking is genuinely a one-line change with Ultralytics, and ByteTrack gives you accurate, persistent IDs without any appearance model. Start with the quick-start one-liner, move to the full script when you need the output video and the raw IDs, and reach for bytetrack.yaml only when a crowded or occluded scene asks for it.
If you are building tracking, counting, or video-analytics features and want a hand, book a free consultation or read more tutorials. 🚀
FAQs
- Q:What is ByteTrack?
- A:ByteTrack is a multi-object tracking algorithm that assigns a persistent ID to each detected object across video frames. Its key idea is to keep low-confidence detections instead of discarding them, then use them in a second matching round to recover objects during occlusion, which makes it both accurate and fast.
- Q:What is the difference between ByteTrack and BoT-SORT?
- A:ByteTrack matches objects using motion only (a Kalman filter plus IoU), which makes it fast and light. BoT-SORT adds camera-motion compensation and optional appearance (ReID) features, so it holds IDs better through occlusion and camera movement, at a higher compute cost. In Ultralytics you switch between them by passing tracker='bytetrack.yaml' or tracker='botsort.yaml'.
- Q:How do I keep the same IDs across video frames with YOLO?
- A:Call model.track() with persist=True when you process frames yourself in a loop. That tells the tracker each frame continues the same video, so track IDs carry over instead of resetting on every call. If you pass a whole video path to model.track() at once, persistence is handled for you.
- Q:Where is the bytetrack.yaml config file?
- A:It ships inside the Ultralytics package, so you can pass tracker='bytetrack.yaml' without creating anything. To tune it, copy the file, edit the thresholds and track buffer, and pass your own path, for example tracker='my_bytetrack.yaml'.
- Q:Does ByteTrack need a GPU?
- A:No. The ByteTrack association step is lightweight and runs on CPU. The cost is the YOLO detector that feeds it, so a GPU mostly speeds up detection. For real-time tracking on CPU, use a small detector like YOLO11n.
Related posts
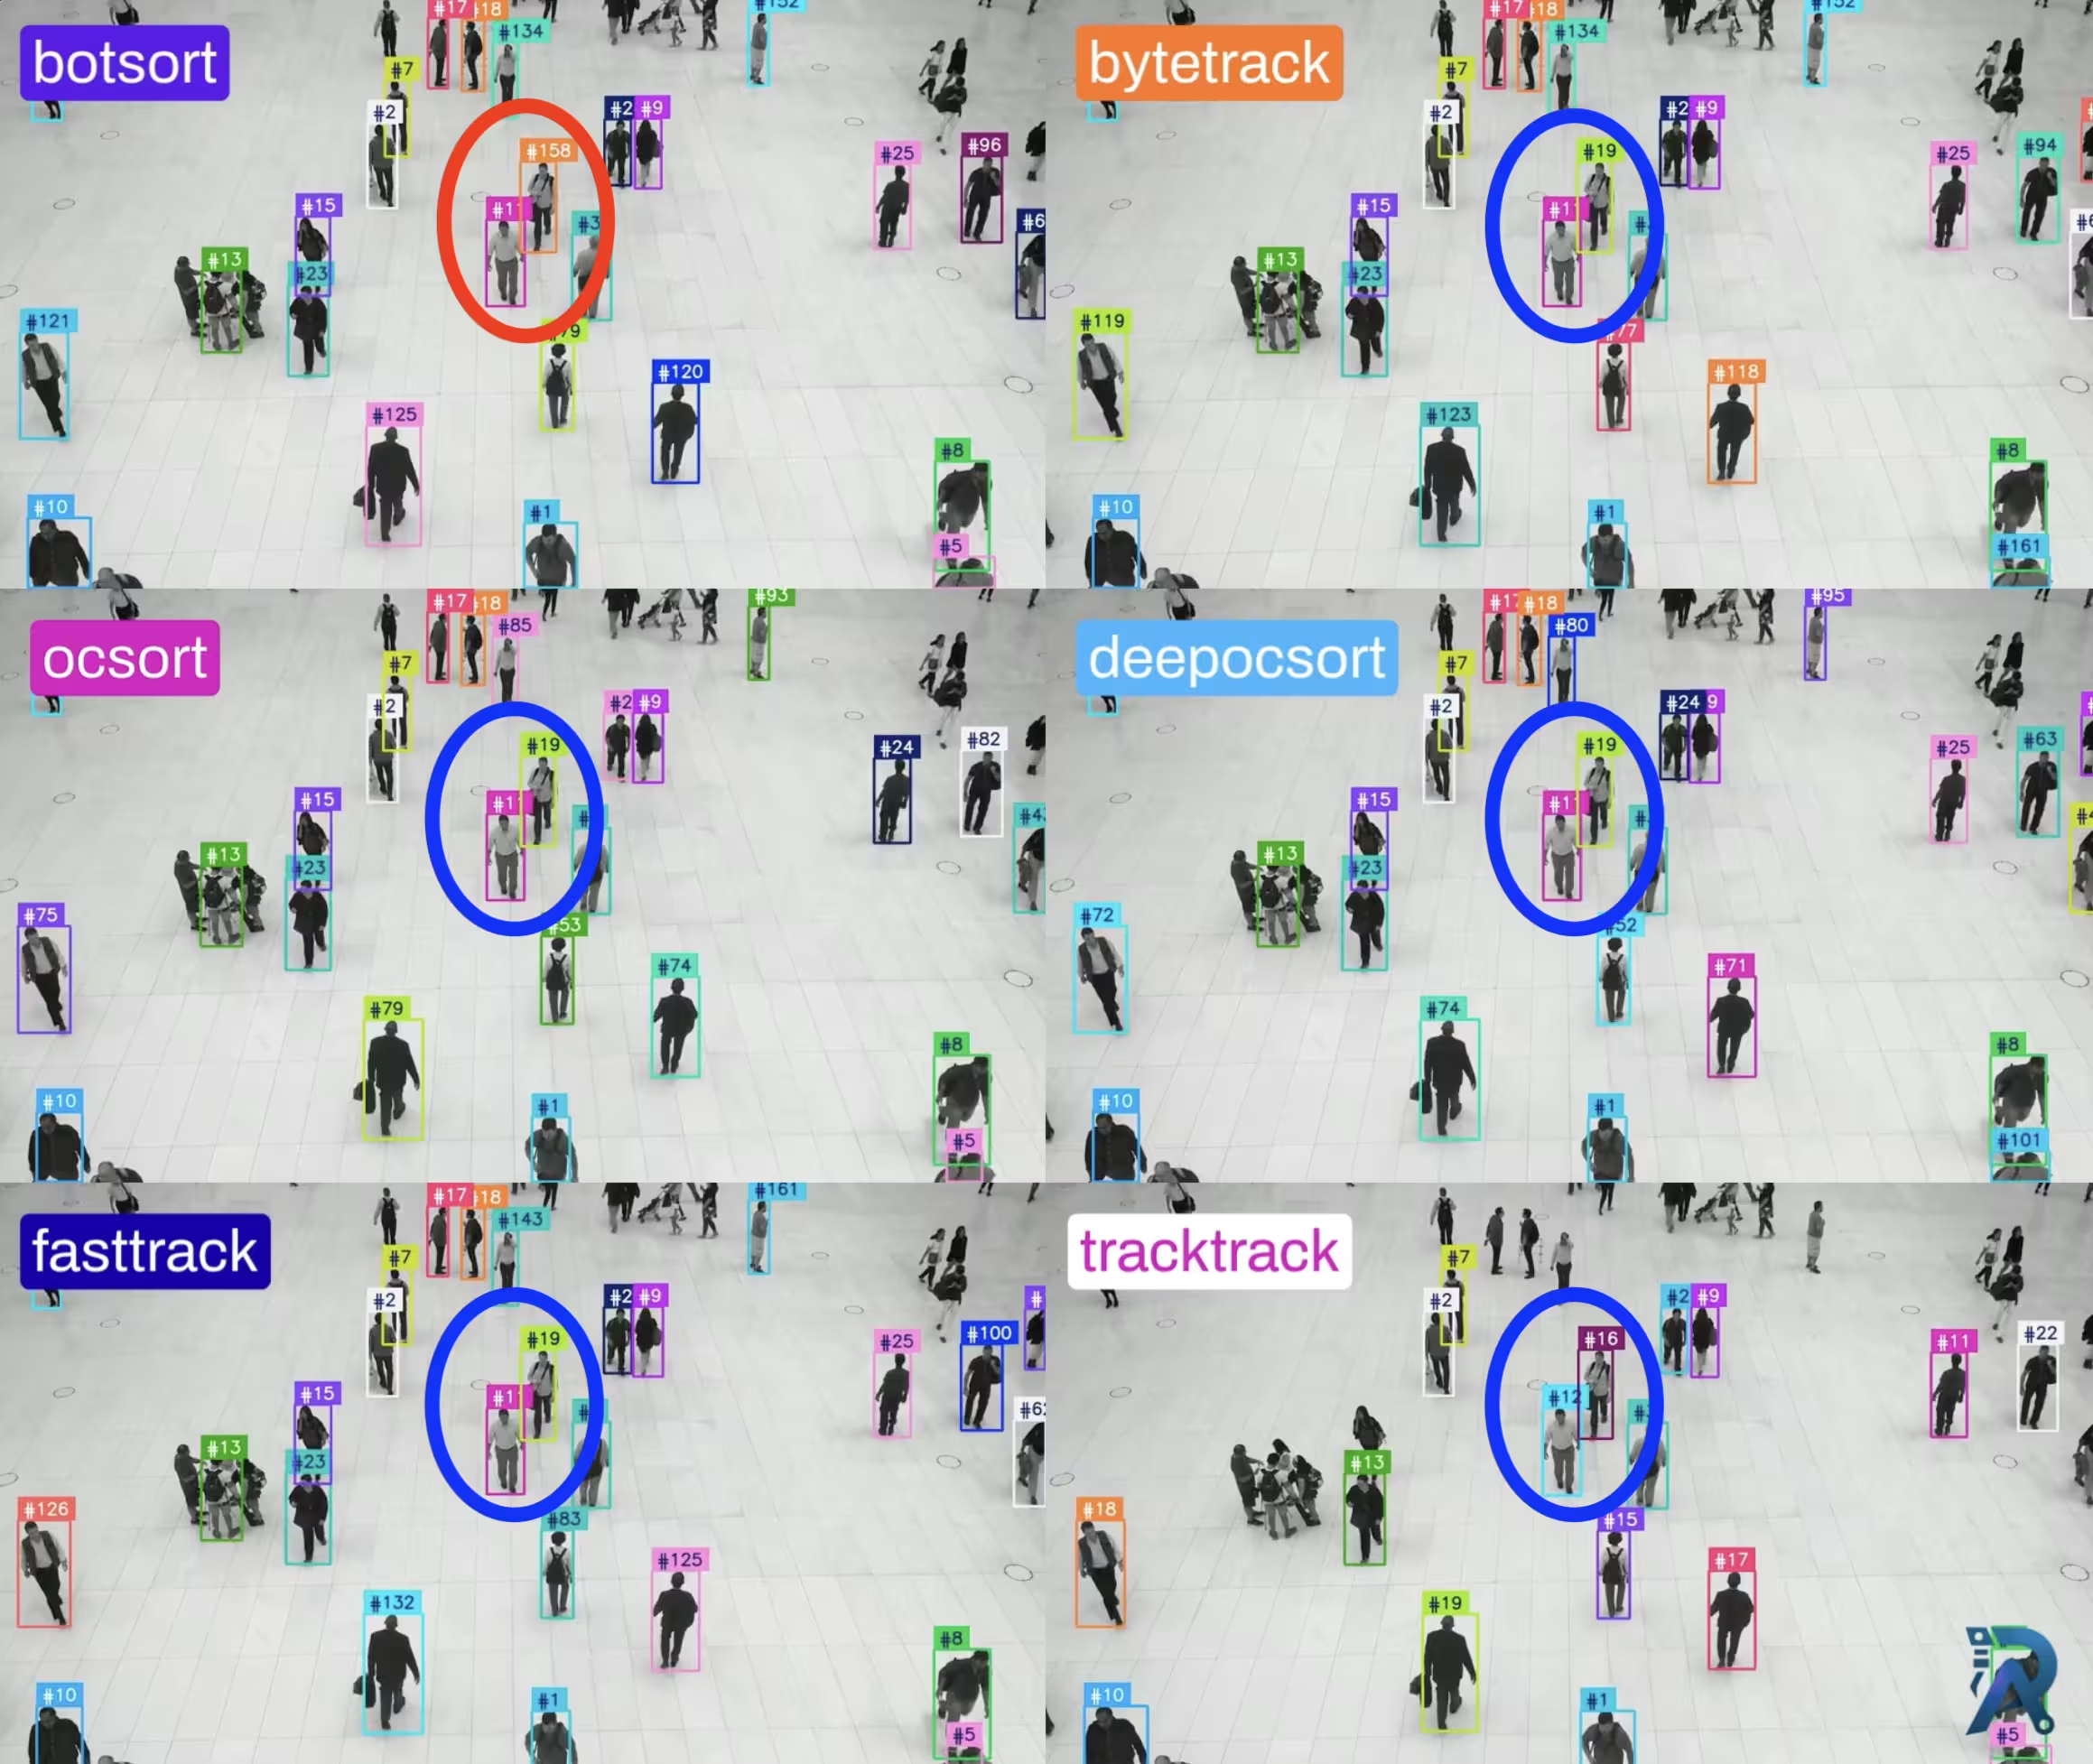
Ultralytics object trackers comparison: ByteTrack, BoT-SORT & More
How do the six Ultralytics trackers actually behave on the same footage? A look at BoT-SORT, ByteTrack, OC-SORT, Deep OC-SORT, FastTrack, and TrackTrack, their internals, trade-offs, and side-by-side results on ID switches, ID stability, and FPS.
Read article →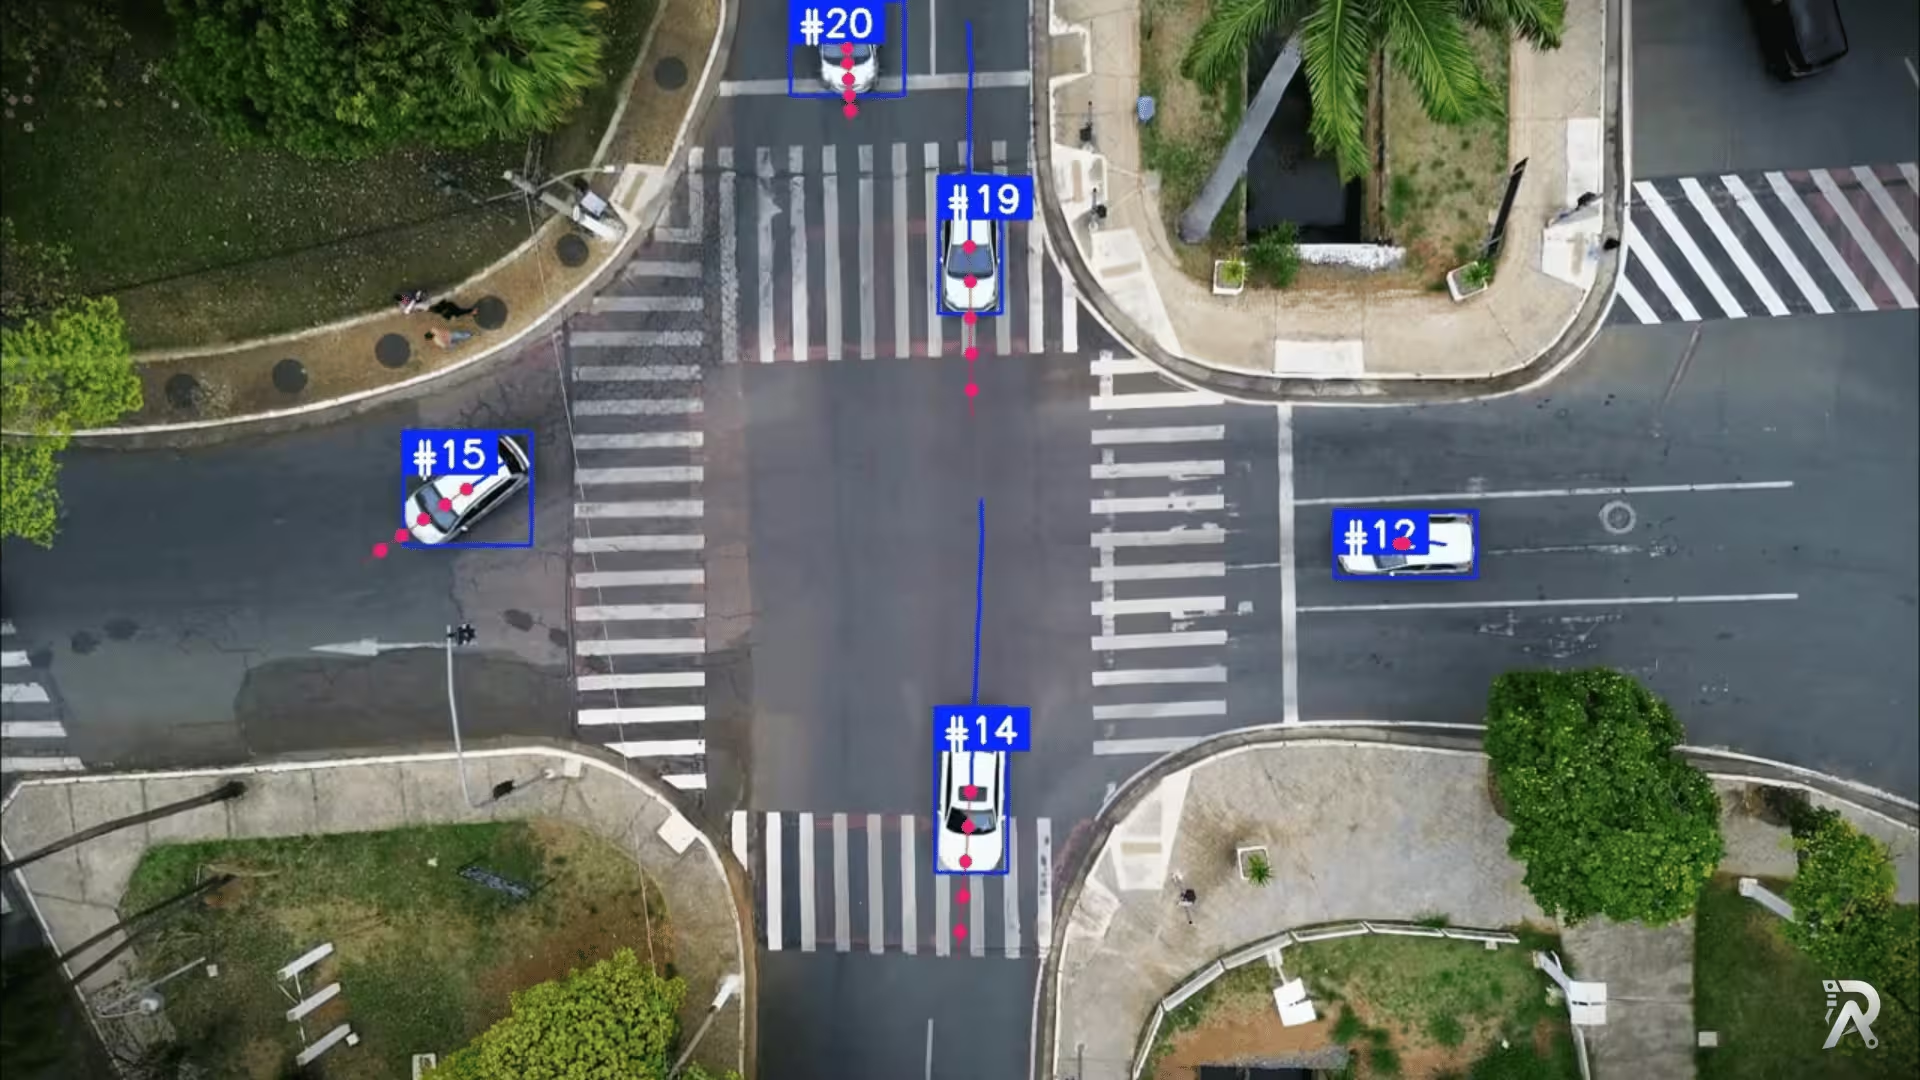
Object tracking and trajectory forecasting with YOLO26 and ByteTrack
Detect, track, and predict the future path of people and vehicles using Ultralytics YOLO26, ByteTrack, and a lightweight velocity-based forecasting model.
Read article →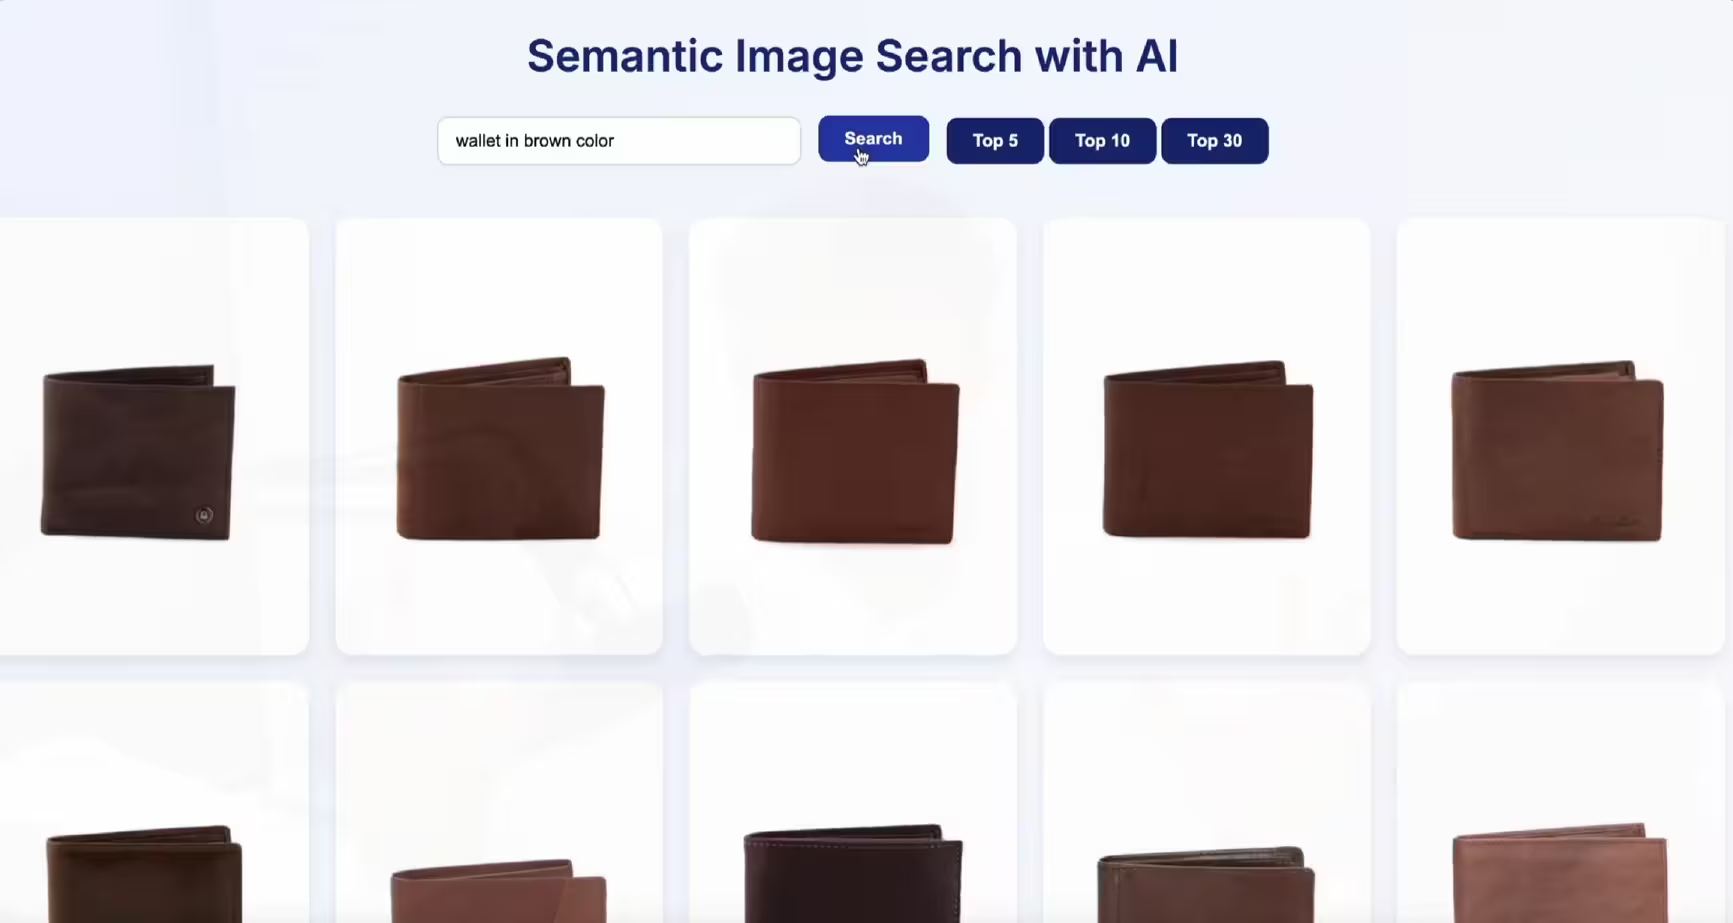
Build a semantic image search engine with CLIP and Python
Learn how to build a semantic image search engine that finds pictures by meaning. A few lines of Python turn a folder of images into a searchable index you can query in plain English.
Read article →
Computer Vision Engineer and top contributor to the YOLO project, building production AI and deep learning systems.
My course on LinkedIn LearningHands-On AI: Computer Vision Projects with Ultralytics and OpenCV