How to generate accurate segmentation masks using object detection and Meta SAM2
Learn how to generate segmentation masks with object detection and SAM2 models for advanced image processing tasks.

Segmentation masks are vital for precise object tracking and analysis, allowing pixel-level identification of objects. By leveraging a fine-tuned Ultralytics YOLO11 model alongside the Segment Anything 2 (SAM2) model, you can achieve unparalleled accuracy and flexibility in your workflows.
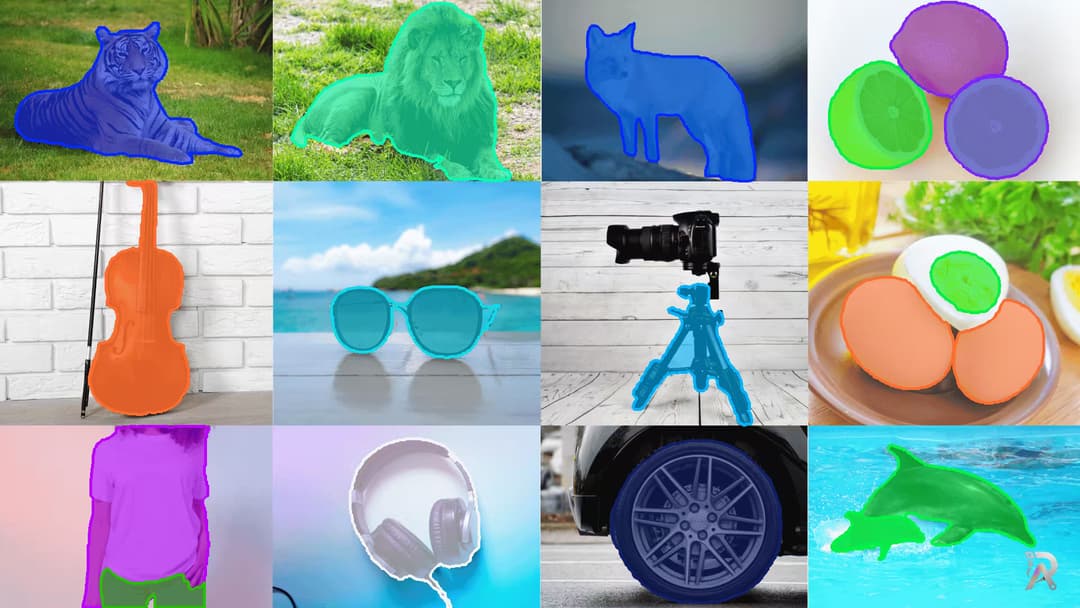
Hardware and software setup for this project
- CPU: Intel® Core™ i5-10400 CPU @ 2.90GHz for efficient processing.
- GPU: NVIDIA RTX 3050 for real-time tasks.
- RAM and Storage: 64 GB RAM and 1TB hard disk for seamless performance.
- Model: Fine-tuned YOLO11 model for object detection.
- Dataset: Custom annotated dataset for maximum accuracy.
How to generate segmentation masks
Step 1: Prepare the model
Train or fine-tune a custom YOLO11 model, or use the Ultralytics Pretrained Models for object detection tasks.
Step 2: Auto annotation with SAM2
Integrate the SAM2 model to convert bounding boxes into segmentation masks.
# Install the necessary library
# pip install ultralytics

from ultralytics.data.annotator import auto_annotate

# Automatically annotate images using YOLO and SAM2 models
auto_annotate(data="images",
              det_model="yolo11n.pt",
              sam_model="sam2_b.pt")
Step 3: Generate and save masks
Run the script to save segmentation masks as .txt files. auto_annotate creates the output folder next to your images and names it <data>_auto_annotate_labels, so passing data="images" writes them to images_auto_annotate_labels.
Step 4: Visualize the results
Use the following script to overlay segmentation masks on images.
import os
import cv2
import numpy as np
from ultralytics.utils.plotting import colors

# Define folder paths
image_folder = "images"   # the same folder you passed to auto_annotate
mask_folder = "images_auto_annotate_labels" # auto_annotate wrote labels here
output_folder = "output_directory"  # Path to save output images

os.makedirs(output_folder, exist_ok=True)

# Process each image
for image_file in os.listdir(image_folder):
    image_path = os.path.join(image_folder, image_file)
    mask_file = os.path.join(mask_folder,
                             os.path.splitext(image_file)[0] + ".txt")

    img = cv2.imread(image_path)   # Load the image
    if img is None or not os.path.exists(mask_file):
        continue                    # skip non-images and images with no detections
    height, width, _ = img.shape

    with open(mask_file, "r") as f:  # Read the mask file
        lines = f.readlines()

    for line in lines:
        data = line.strip().split()
        color = colors(int(data[0]), True)

        # Convert points to absolute coordinates
        points = np.array([(float(data[i]) * width, float(data[i + 1])*height)
                           for i in range(1, len(data), 2)],
                           dtype=np.int32).reshape((-1, 1, 2))

        overlay = img.copy()
        cv2.fillPoly(overlay, [points], color=color)
        alpha = 0.6
        cv2.addWeighted(overlay, alpha, img, 1 - alpha, 0, img)
        cv2.polylines(img, [points], isClosed=True, color=color, thickness=3)

    # Save the output
    output_path = os.path.join(output_folder, image_file)
    cv2.imwrite(output_path, img)
    print(f"Processed {image_file} and saved to {output_path}")

print("Processing complete.")
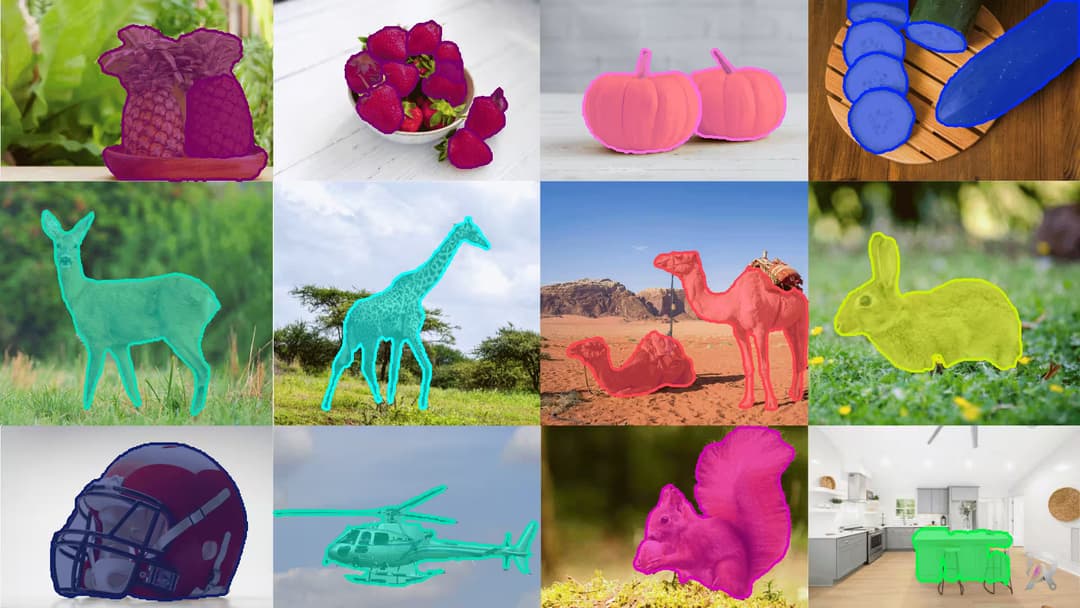
That's it! After completing Step 4, you'll be able to segment objects and view the total count for each segmented object in every frame.
Real-world applications
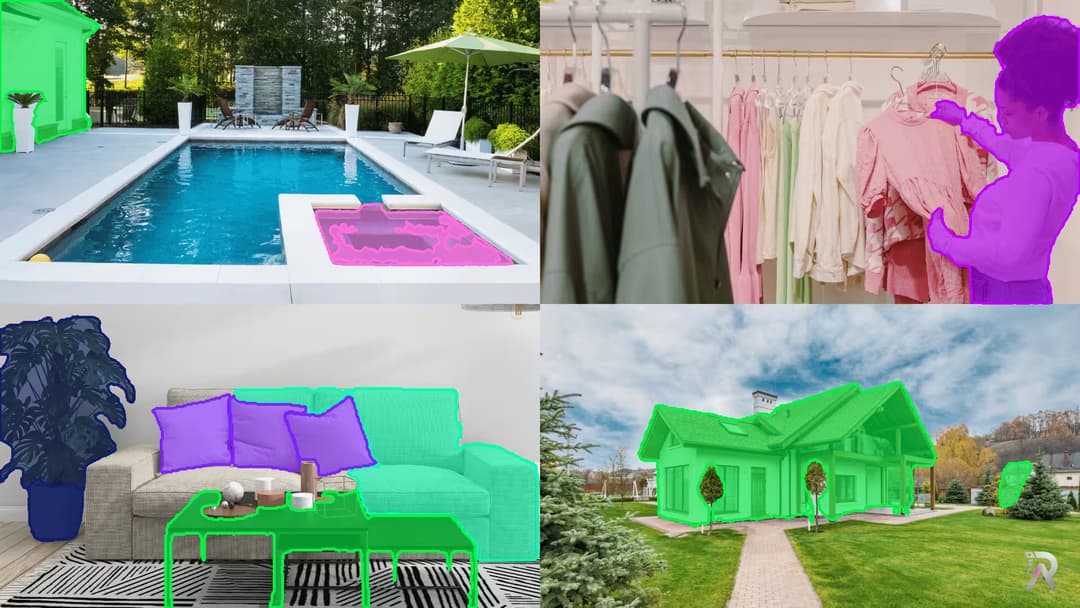
- Medical Imaging: Segment organs and anomalies in scans for diagnostics.
- Retail Analytics: Detect and segment customer activities or products.
- Robotics: Enable robots to identify objects in dynamic environments.
- Satellite Imagery: Analyze vegetation and urban areas for planning.
Explore more
Start building your object segmentation workflow today!🚀
FAQs
- Q:What is the difference between object detection and segmentation masks?
- A:Object detection draws bounding boxes around objects, while segmentation produces pixel-level masks that outline each object's exact shape for more precise analysis.
- Q:How does SAM2 generate masks from object detection?
- A:The auto_annotate workflow feeds YOLO11's bounding boxes into the SAM2 model, which converts each box into a detailed segmentation mask automatically.
- Q:Do I need to train a custom model?
- A:Not necessarily. You can use Ultralytics pretrained models, or fine-tune a custom YOLO11 model when you need higher accuracy on a specific dataset.
- Q:What are common applications of segmentation masks?
- A:They are used in medical imaging, retail analytics, robotics, and satellite imagery analysis where precise, pixel-level object identification matters.
Related posts
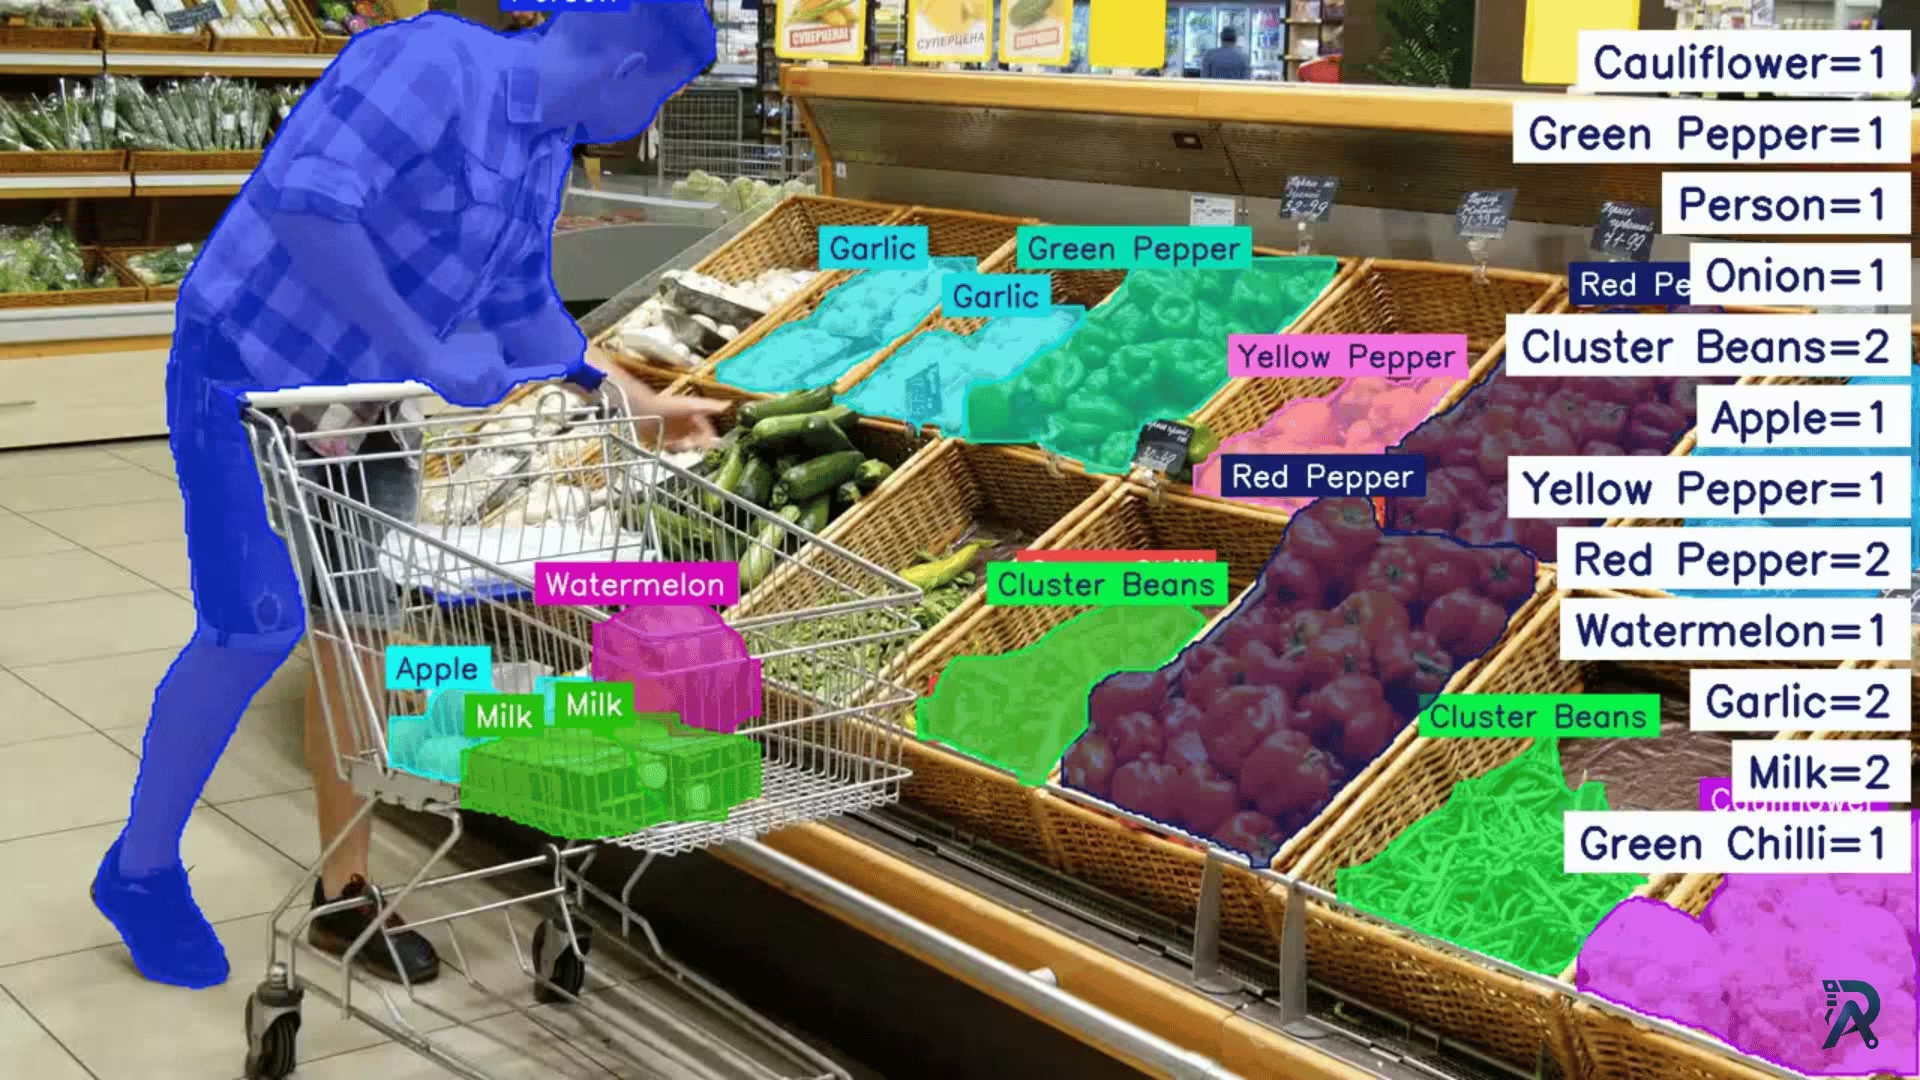
Supermarket items segmentation and counting with YOLO11
Discover how to achieve advanced items segmentation in supermarkets with Ultralytics YOLO11 for efficient object detection and analysis.
Read article →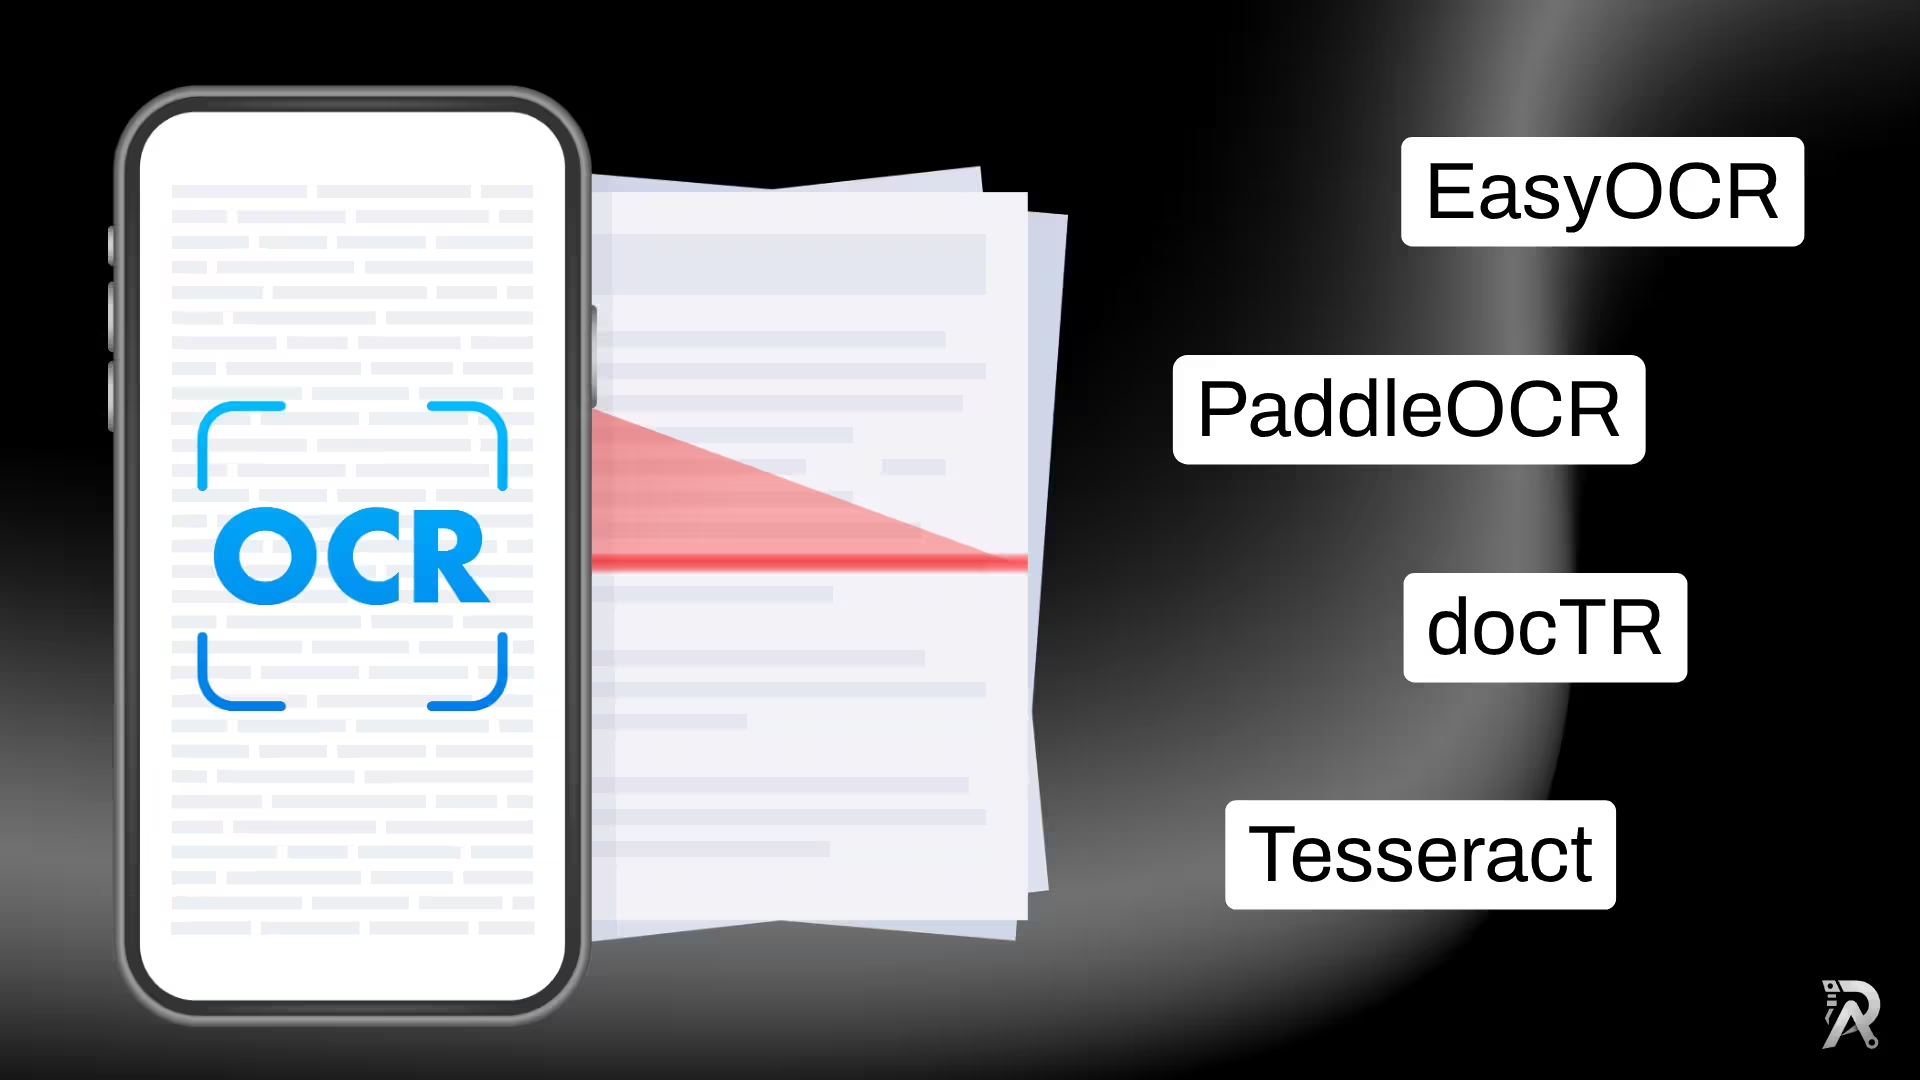
How to extract text from images in Python (OCR): 5 libraries compared
A practical guide to reading text from images in Python: Tesseract, EasyOCR, PaddleOCR, docTR and VLM-based OCR, with runnable code and a which-one-to-pick guide.
Read article →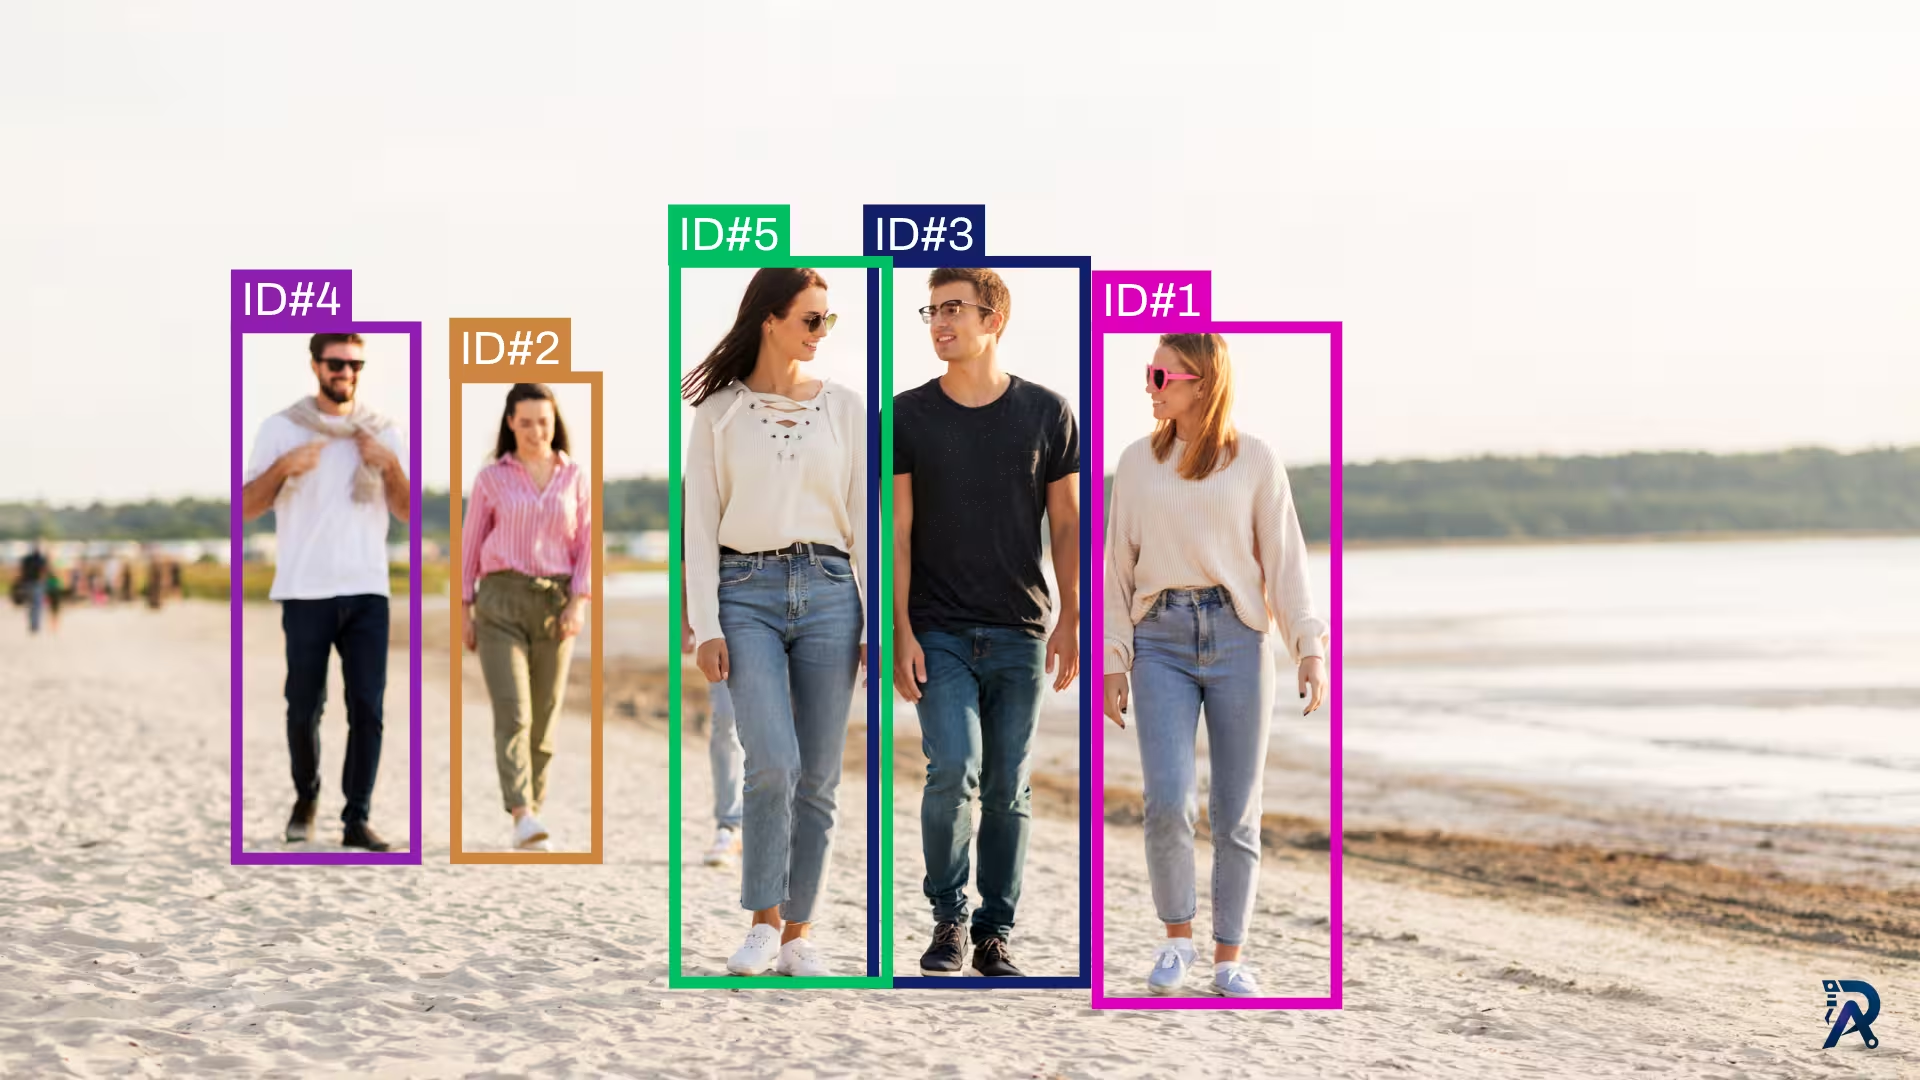
How to use ByteTrack with YOLO for object tracking in Python
Give YOLO a memory. This tutorial uses ByteTrack to assign persistent IDs to objects across video frames, with a runnable Ultralytics script and a bytetrack.yaml tuning guide.
Read article →
Computer Vision Engineer and top contributor to the YOLO project, building production AI and deep learning systems.
My course on LinkedIn LearningHands-On AI: Computer Vision Projects with Ultralytics and OpenCV